Sheetgo’s Inventory lending template is a pre-built system that’s ideal for stores, libraries, IT departments, and schools that rent or loan equipment.
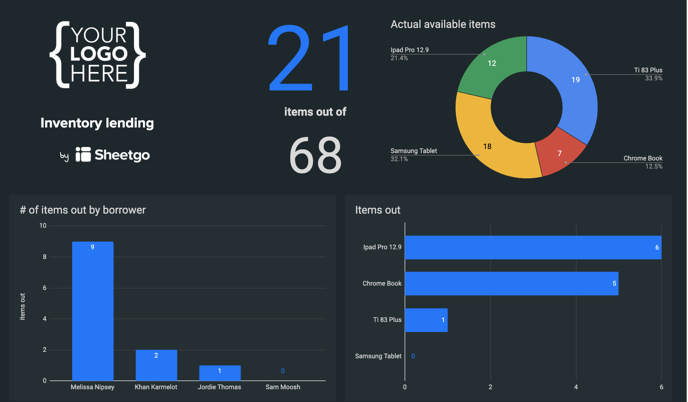
The template enables you to track borrowed and returned items in the automated dashboard.
How does the template work?
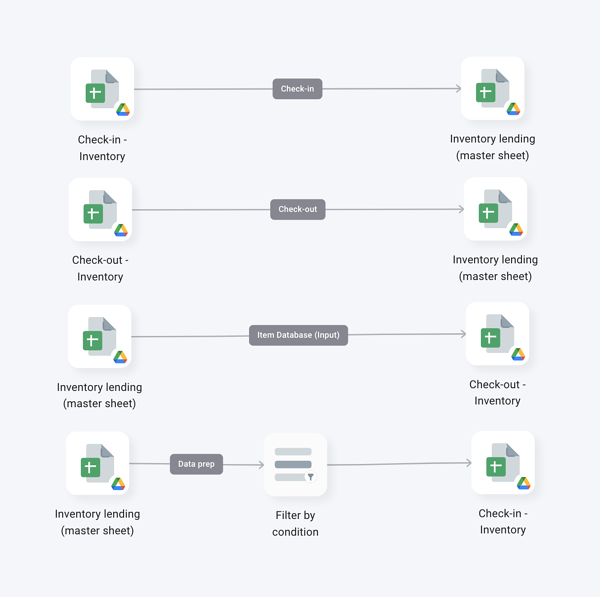
When you install the Sheetgo Inventory lending template, three Google Sheets files with pre-built Sheetgo connections are saved to your Google Drive:
One Check-in spreadsheet where the person(s) responsible records which items have been returned.
One Check-out spreadsheet where the person(s) responsible registers the items which have been lent, rented, or borrowed.
One Inventory lending master sheet for the manager with automated dashboards providing an overview of current stock levels. Data flows into this file from the check-in and check-out spreadsheets via Sheetgo connections.
How do I use the template?
Step 1: install and explore
Allow a few minutes as Sheetgo saves a copy of the files to your Google Drive and creates the connections. Sheetgo will open the template on the network view.
Step 2: enter your data
Open the Inventory lending (master sheet).
In the Items Database (Input) tab, replace the sample data with your inventory list.
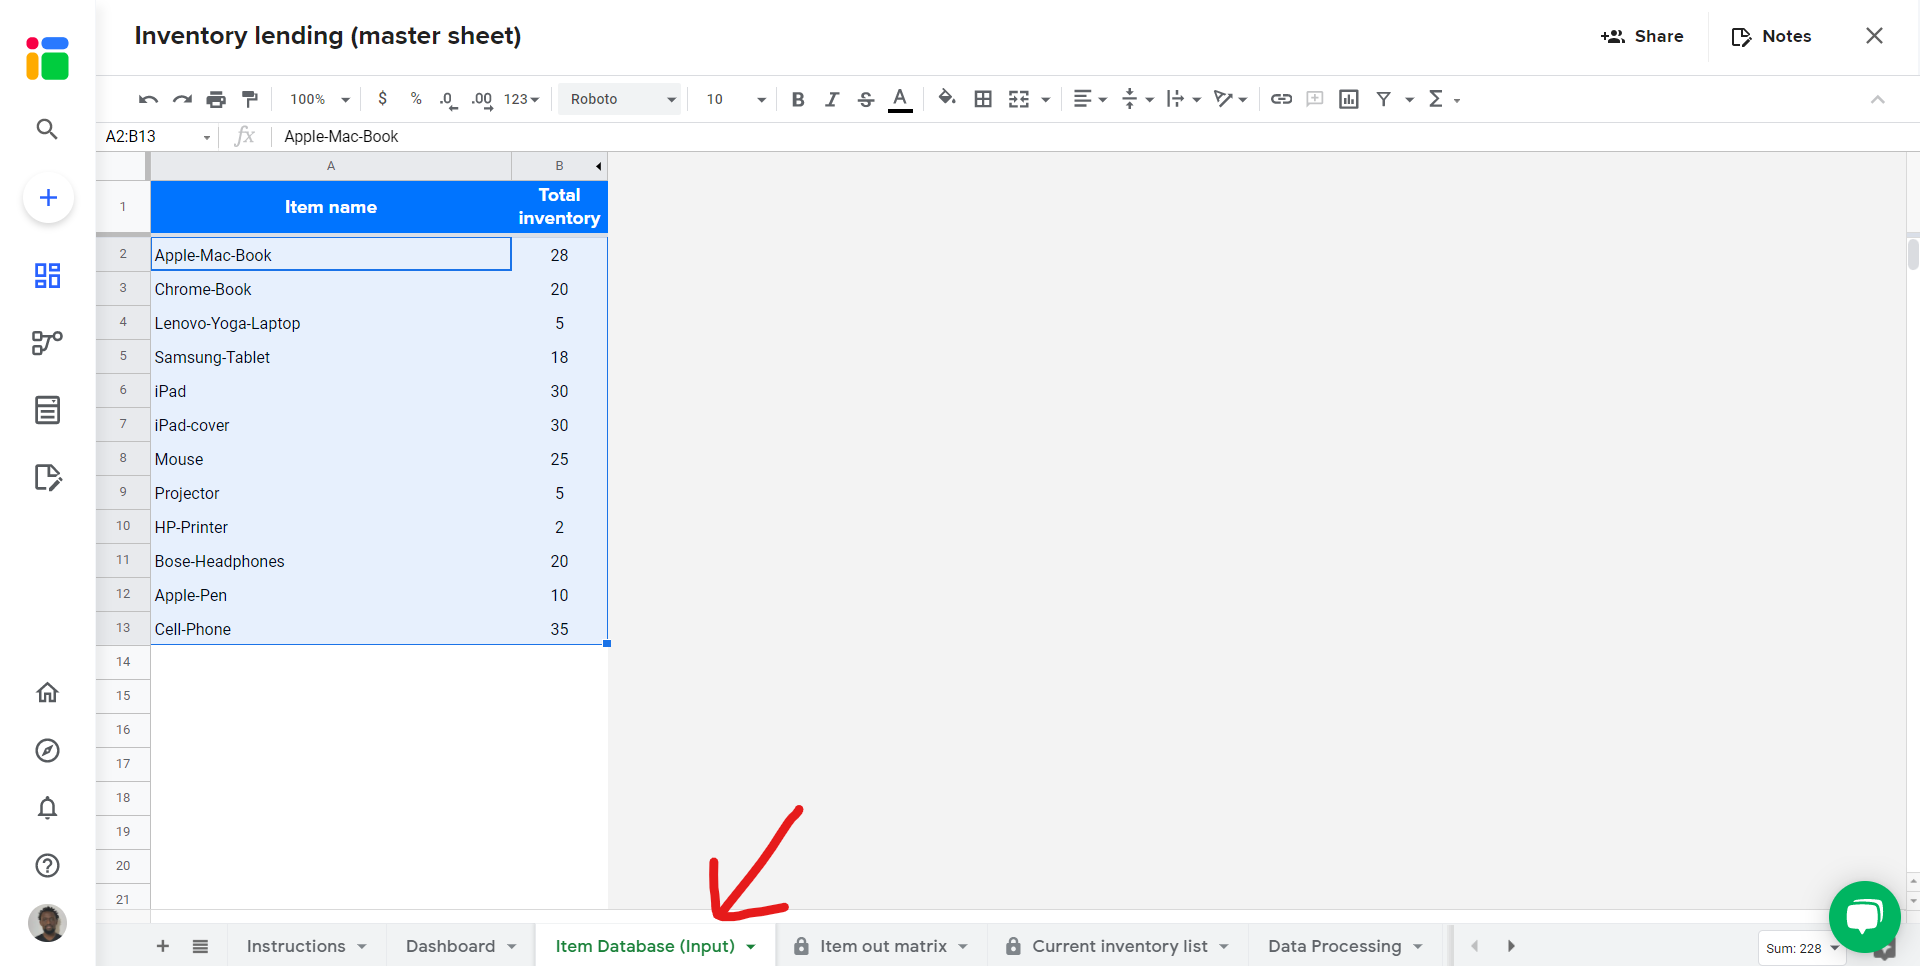
Also delete the sample data in the Check-in - Inventory and Check-out - Inventory files, Check-in and Check-out tabs respectively.
Step 3: update your connections
This template contains pre-built Sheetgo connections that copy data back and forth between files.
Now that you’ve entered your inventory list into the master sheet, it’s time to transfer that data to the input sheets (Check-in and Check-out).
- Click the Run button from the Overview page.
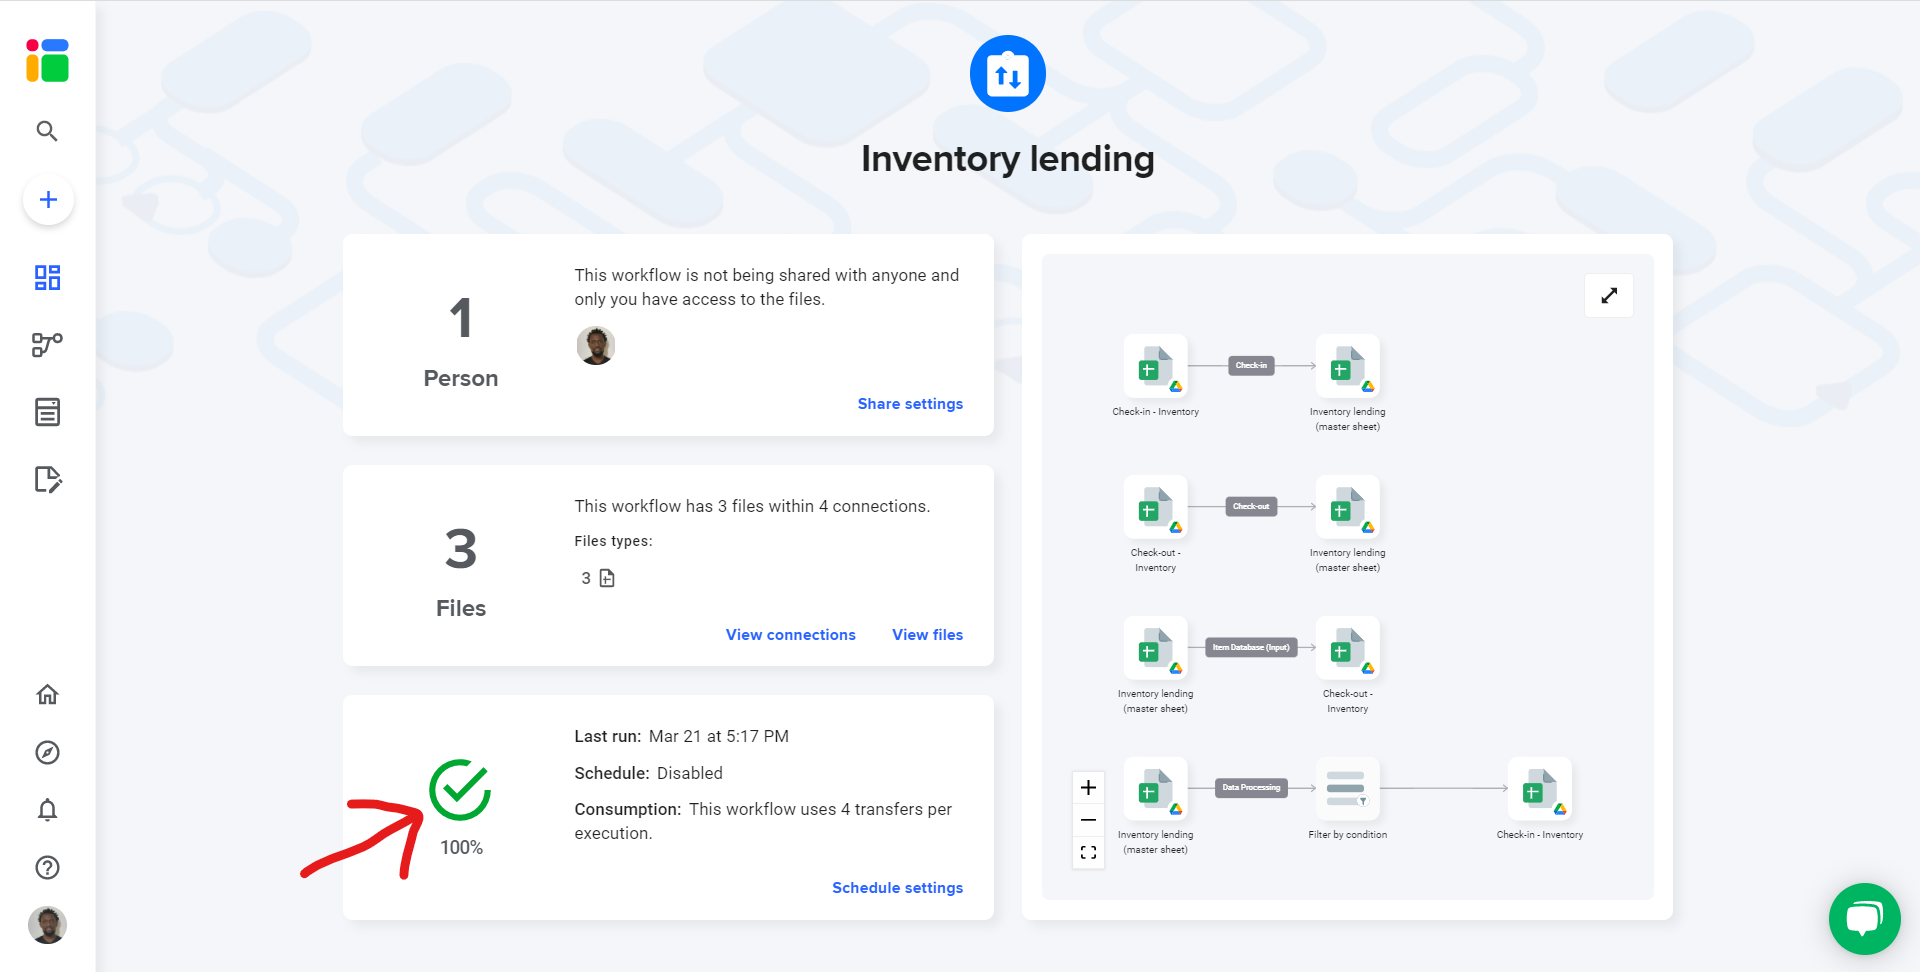
This will update all the connections in the template, copying data to all the spreadsheets.
One file will help us confirm that we are on the right track so far.
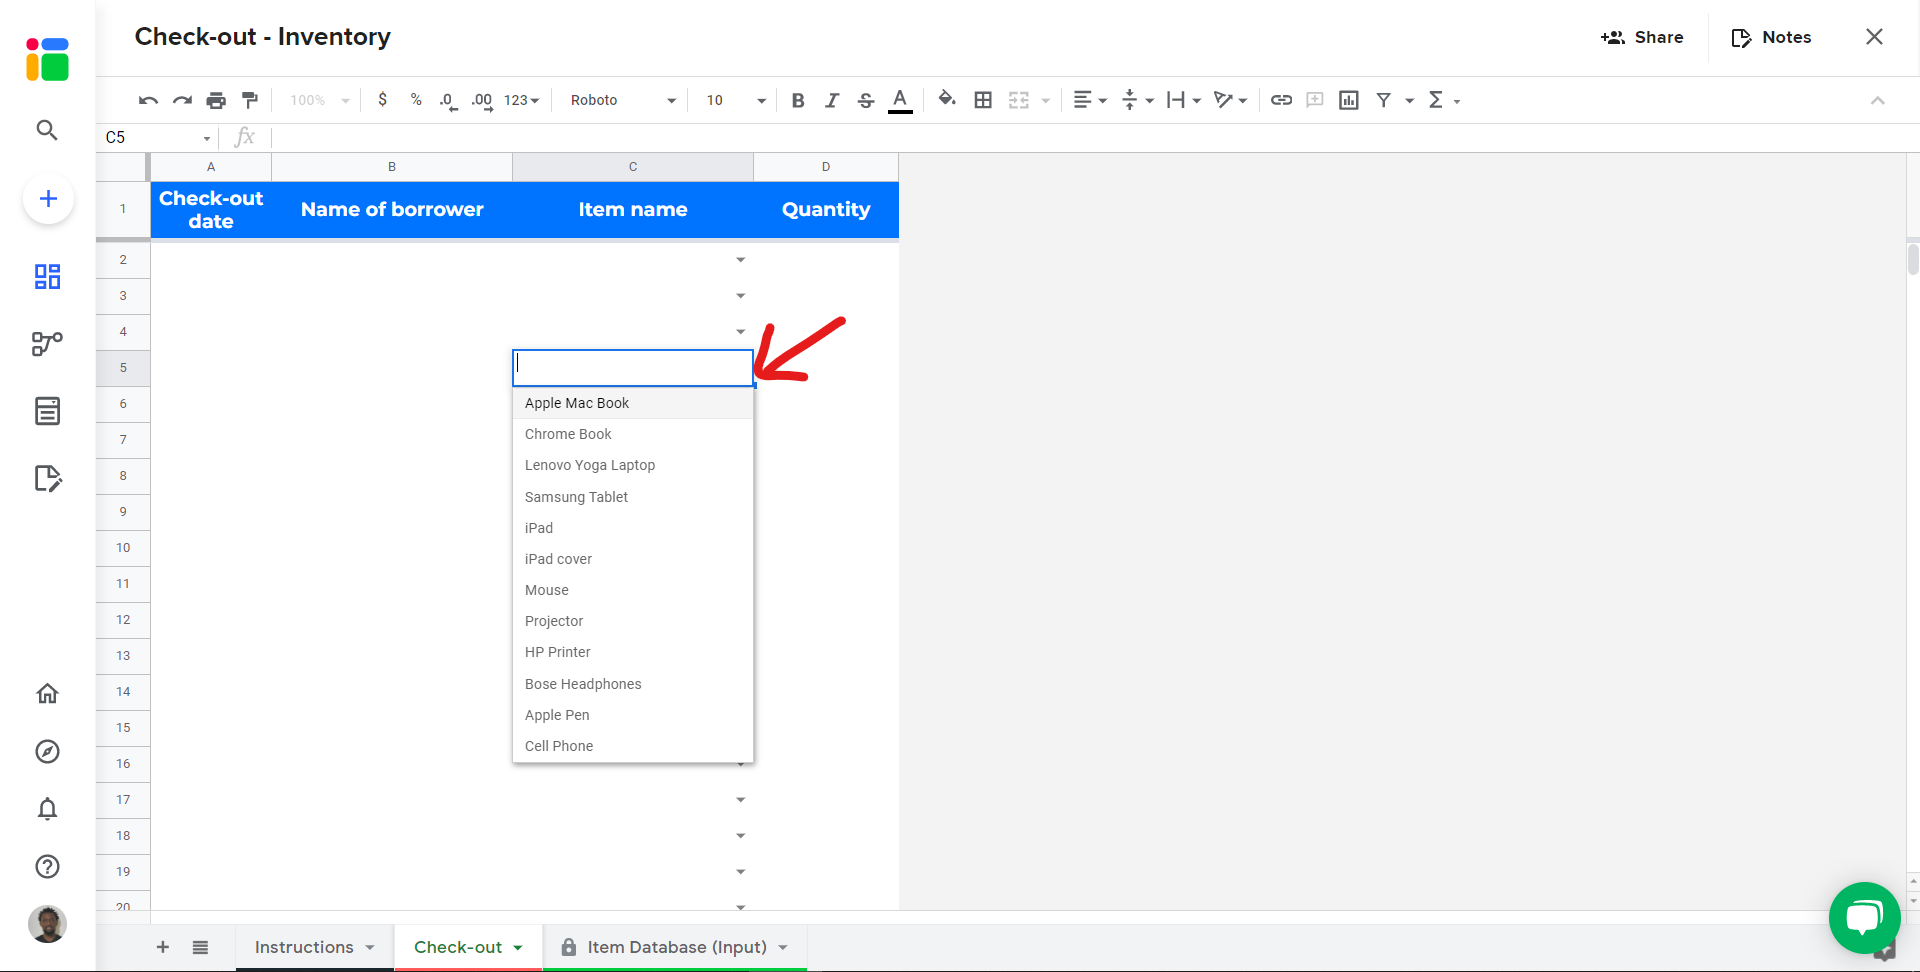
Open the Check-out Inventory spreadsheet and open the drop-down menu from a cell in column C.
In the dropdown list, you should see the items that you entered in Step 2.
Step 4: share files
You need to share the 2 input files (Check-in and Check-out inventory). To share any file that is connected to your workflow, read this article to learn how to seamlessly share files from your Google Drive.
You can also share this workflow to collaborate with another Sheetgo user. Learn how to share your workflow and collaborate with your colleagues in Sheetgo.
To Check-in and to Check-out items, instruct your team members to follow instructions in each one of the files.
Step 5: automate transfers
Automate your workflow now to always have the most recent data into your master sheet. Sheetgo will run automatic transfer even when your machine is off. Learn more here.
Hooray! Congratulations on setting up your automated Inventory lending system!