The Sheetgo Timesheet Management template is an automated workflow to help you manage projects with your colleagues. It enables you to
Collect timesheets from employees automatically
Centralize data in a single place
Monitor the time your team members spend on tasks and projects
How does the template work?
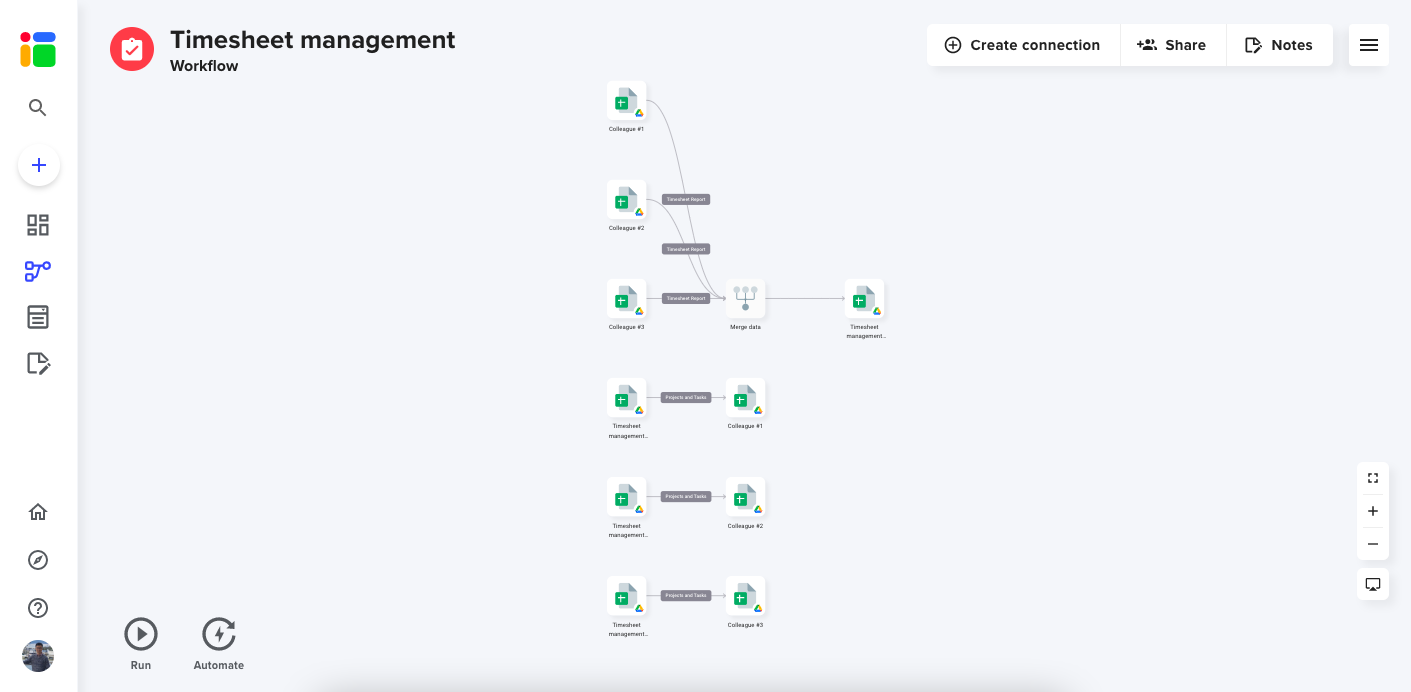
This workflow template contains 4 separate Google Sheets files:
Three Colleague spreadsheets. These are the personal spreadsheets for team members working on the project. Here they can log which tasks they have completed and how long it took them. They also get a personal dashboard to keep track of their tasks and progress.
One Timesheet management master sheet, for the project manager or administrator. Data flows into this file from the Colleague spreadsheets, giving an overview of the hours worked per day, per colleague, and per project in the automated dashboard.
How do I use the Timesheet Management template?
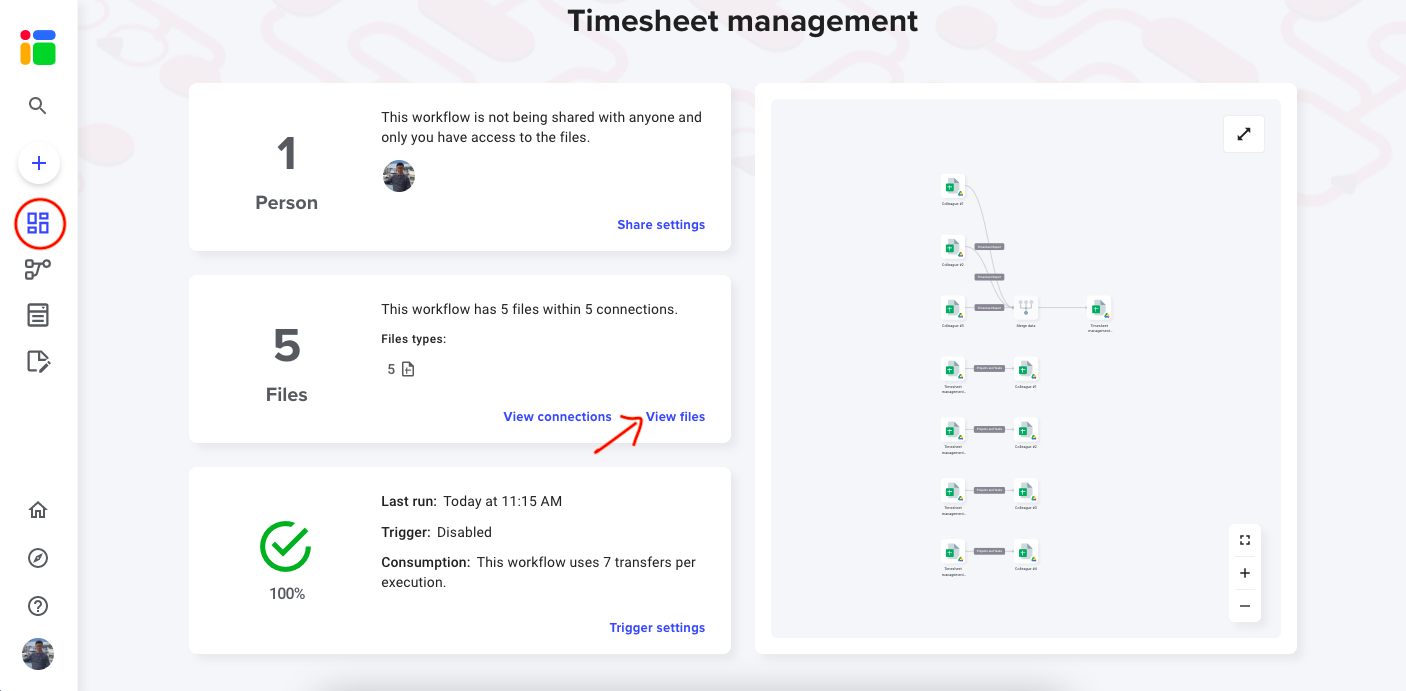
Click View files and explore the documents connected to your template. Each spreadsheet has an instructions tab to help you get started with the Timesheet management workflow.
Step 1: Enter project tasks and run the workflow
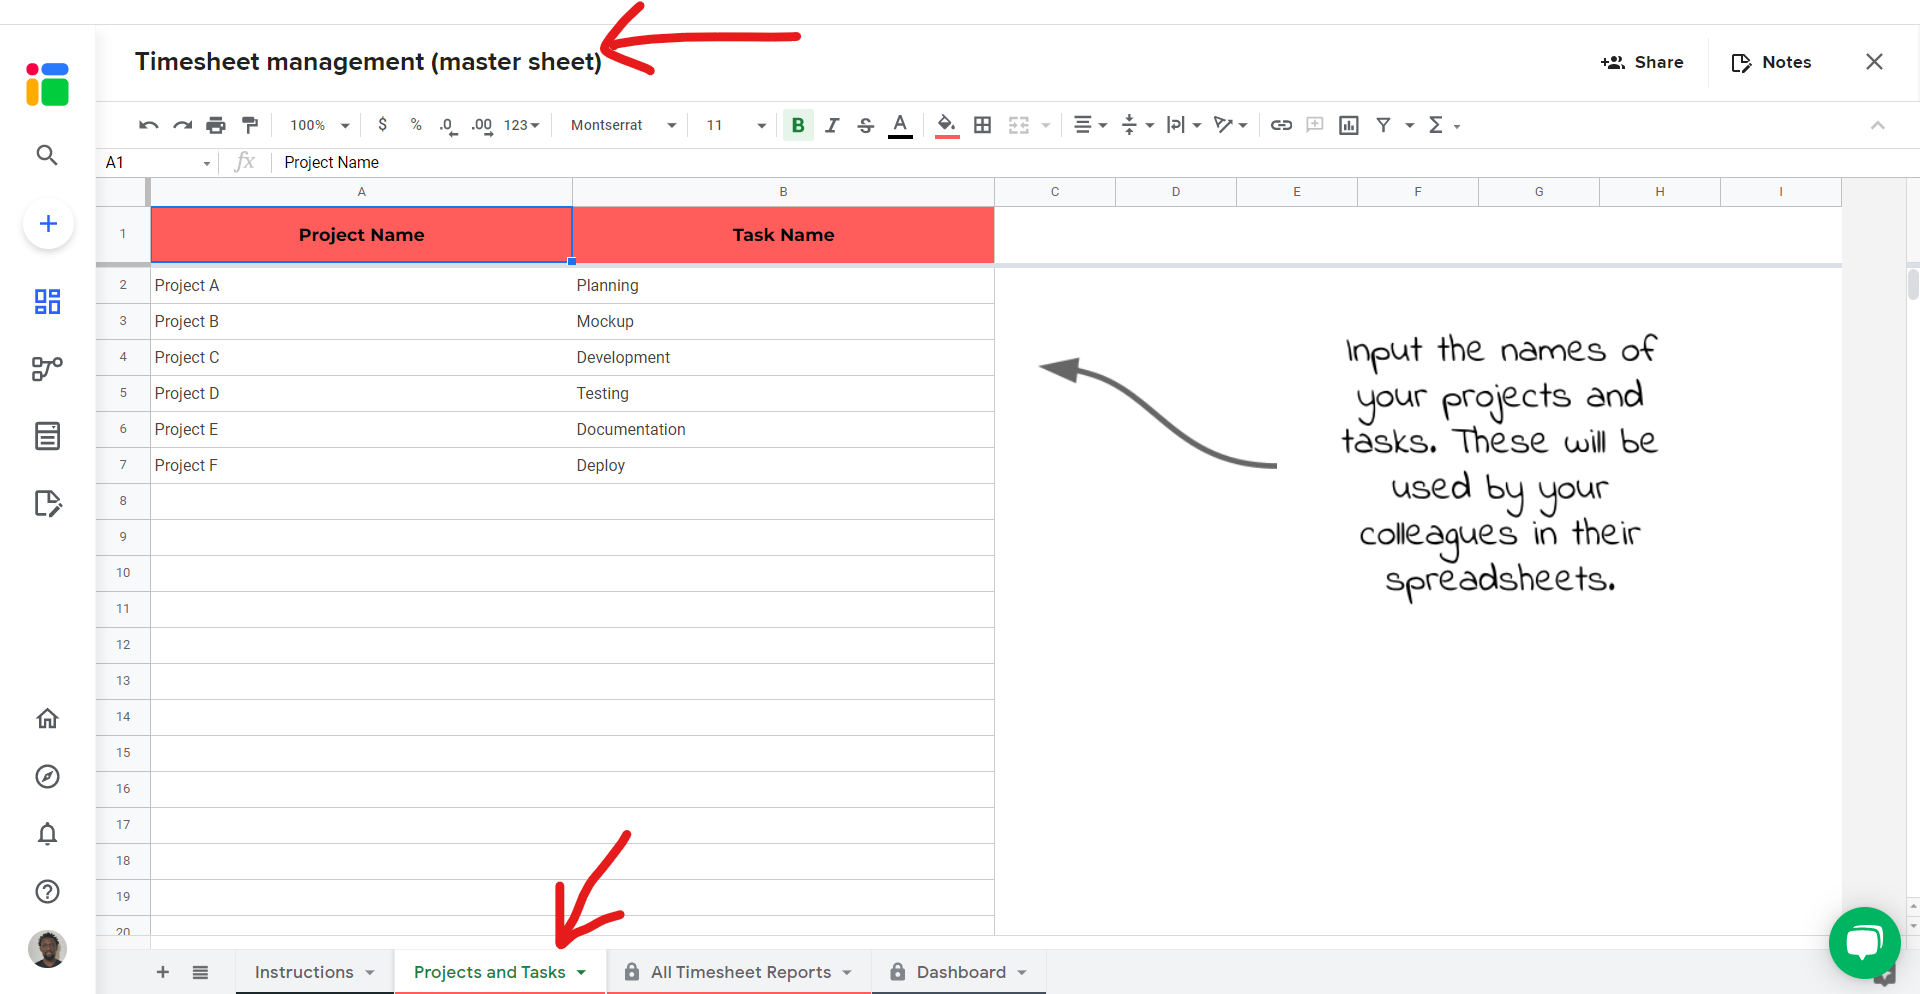
Go to the Projects and Tasks tab in your Timesheet management spreadsheet.
Replace the sample data with the names of all your current projects and tasks.
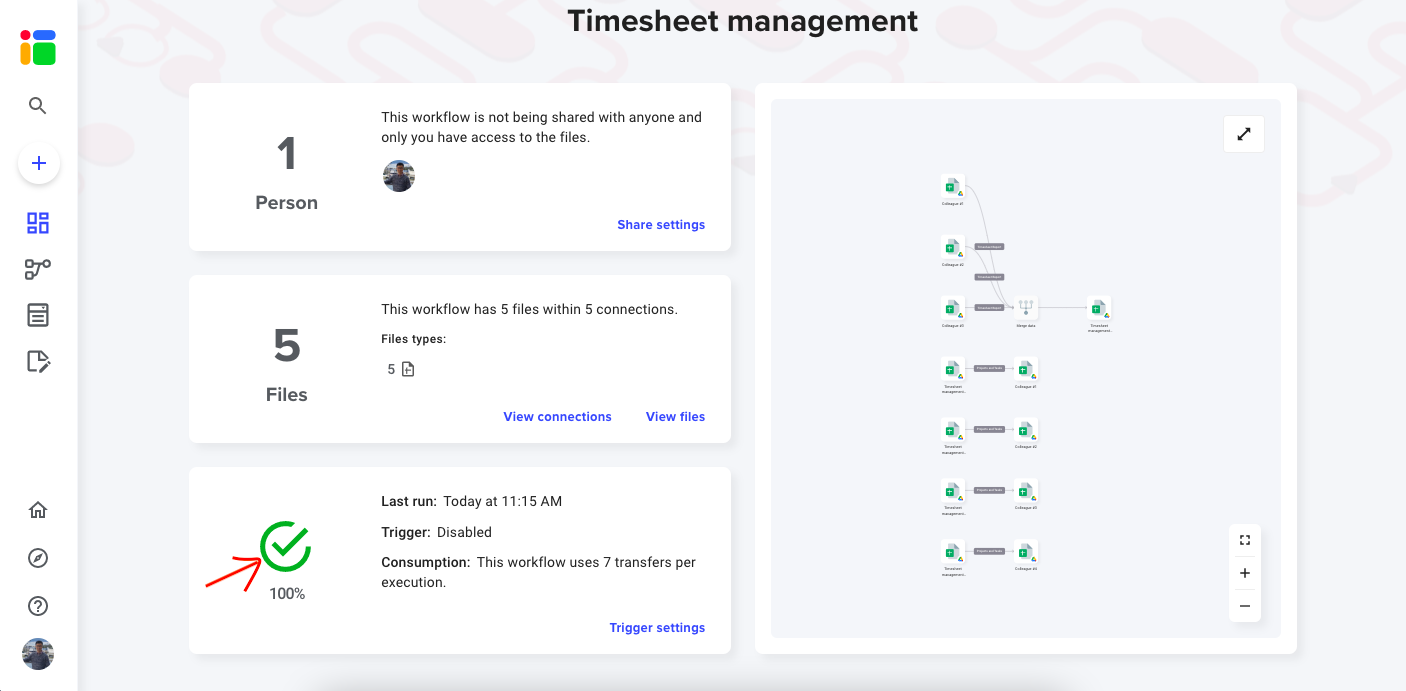
After you’ve entered your current projects and tasks, update the workflow by clicking Run.
Sheetgo has sent the list of project and task names to the colleagues’ files. The responsible for each file can now choose the project from the drop-down menu, start working on the task, enter the duration and additional notes for each project.
After the next update, open All Timesheet Report tab to see which department/colleague is responsible for each task as well as the duration of the project and notes reported by your team member. Content in Duration (Hours) & Notes columns in the colleague spreadsheet will be copied to the master sheet.
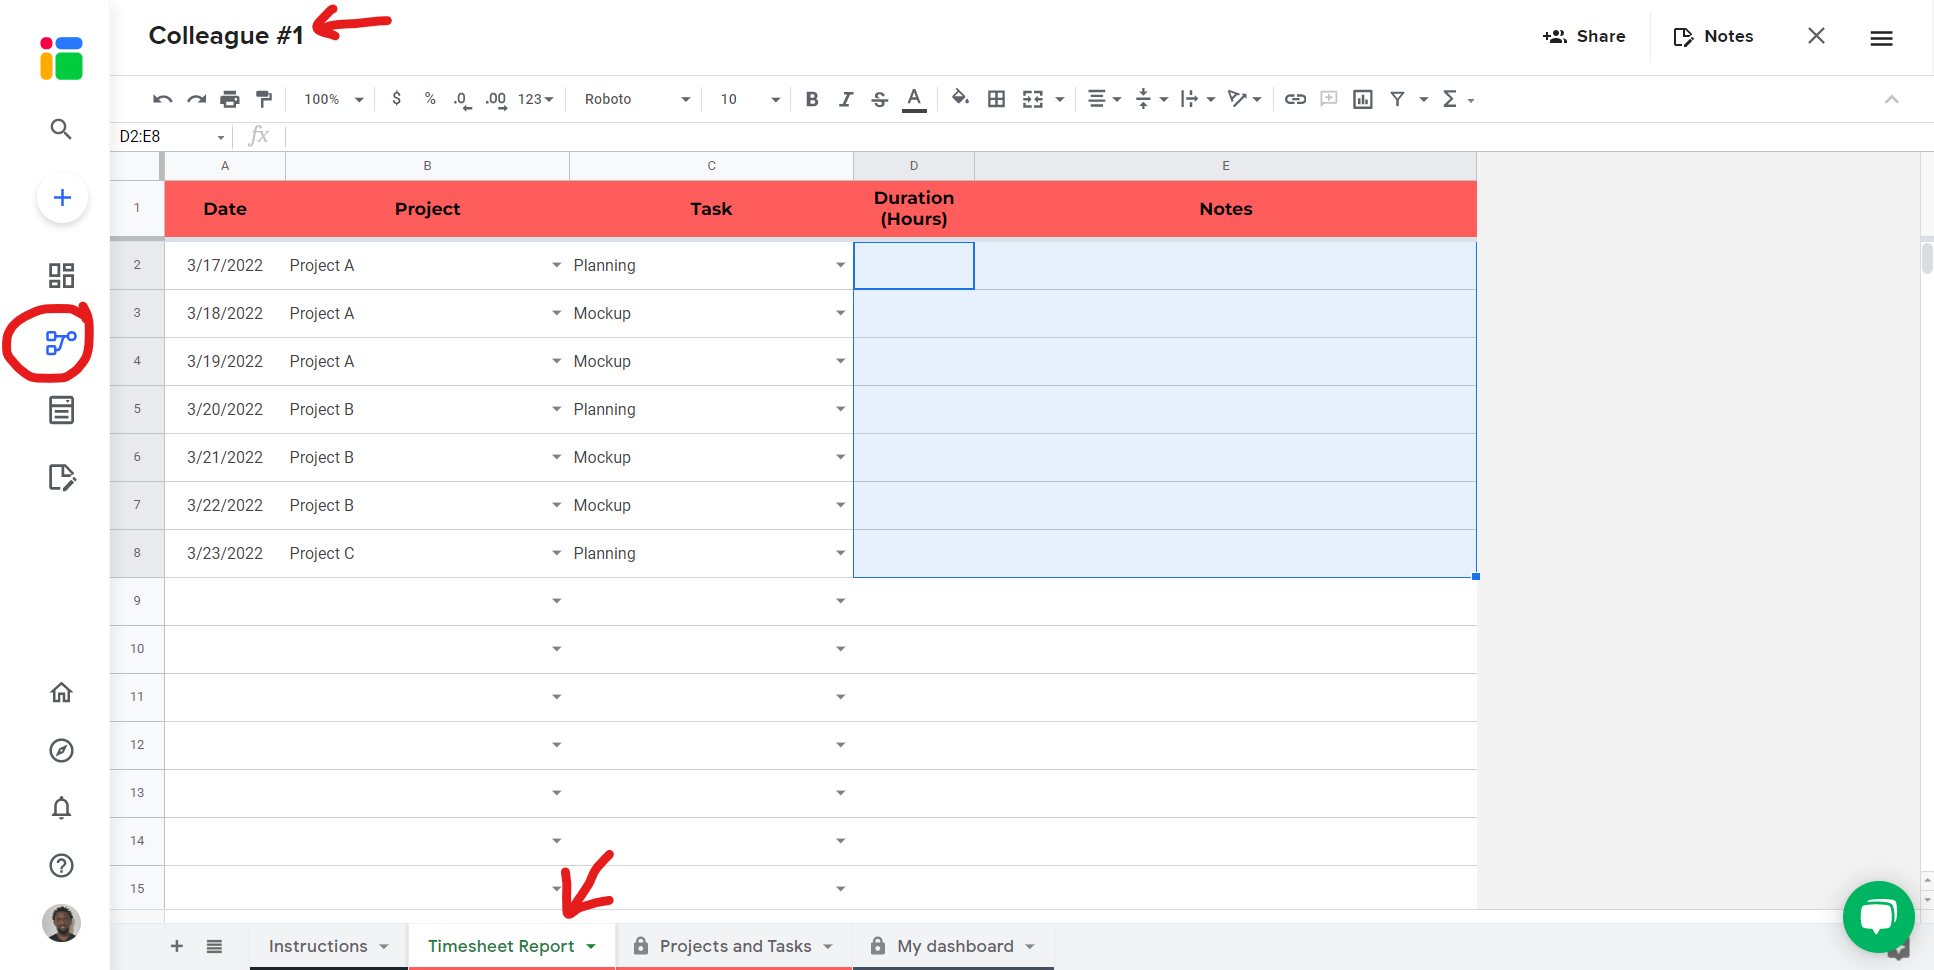
Step 2: share files
To share any file that is connected to your workflow, read this article to learn how to seamlessly share files from your Google Drive.
You can also share this workflow to collaborate with another Sheetgo user. Learn how to share your workflow and collaborate with your colleagues in Sheetgo.
Repeat these steps with the other input files if needed.
Step 3: enter your data
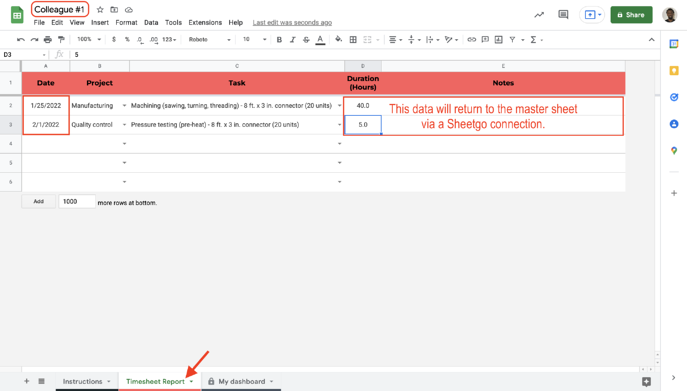
Now that you’ve shared the individual input spreadsheets with your colleagues, they can start logging their work.
They do this in the Timesheet Report tab of their personal spreadsheet. Details in columns A, D and E will return to the master sheet via a Sheetgo connection.
In Column B and C, instruct the file responsible to select the project and task from the dropdown menus.
Step 4: update your connections
- Go to the Overview and click the run button to update your workflow. This will gather all inputs across all colleagues’ spreadsheets. Sheetgo will copy reports into the master sheet All Timesheets Reports tab.
Step 5: automate transfers
Automate your workflow now to always have the most recent data in your master sheet. Sheetgo will run automatic transfer even when your machine is off. Learn more here.