Sheetgo’s inventory management template is not your usual Google Sheets template. Instead, it’s an automated workflow template that combines data from multiple files automatically.
When you (or your colleagues) check items in and out of the inventory, current stock levels appear in the manager’s automated dashboard.
How does the inventory management template work?
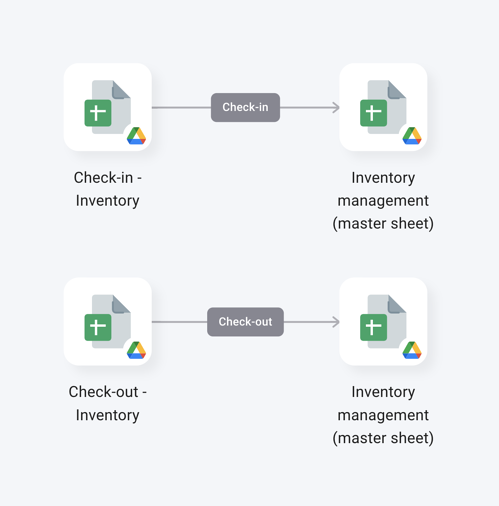
The workflow template contains 3 separate Google Sheets files that are linked with Sheetgo connections. These Sheetgo connections move data between tabs in the different spreadsheets.
As you can see from the workflow diagram below, data flows from the check-in and check-out spreadsheet into the central management file:

File 1: Inventory management (master sheet)
This spreadsheet is designed for the manager. It contains an automated inventory management dashboard that pulls data from the other spreadsheets. Don’t make any changes to this spreadsheet.
File 2: Check-in - Inventory
This spreadsheet is managed by your colleague(s) responsible for checking items in. This could be warehouse or office staff who receive deliveries, for example.
File 3: Check-out - Inventory
This spreadsheet is managed by the colleague(s) responsible for checking items out. This might be your sales or production team.
How do I use the inventory management template?
Step 1: install and explore
Allow a few minutes as Sheetgo saves a copy of the files to your Google Drive and creates the connections. Sheetgo will open the template on the network view.
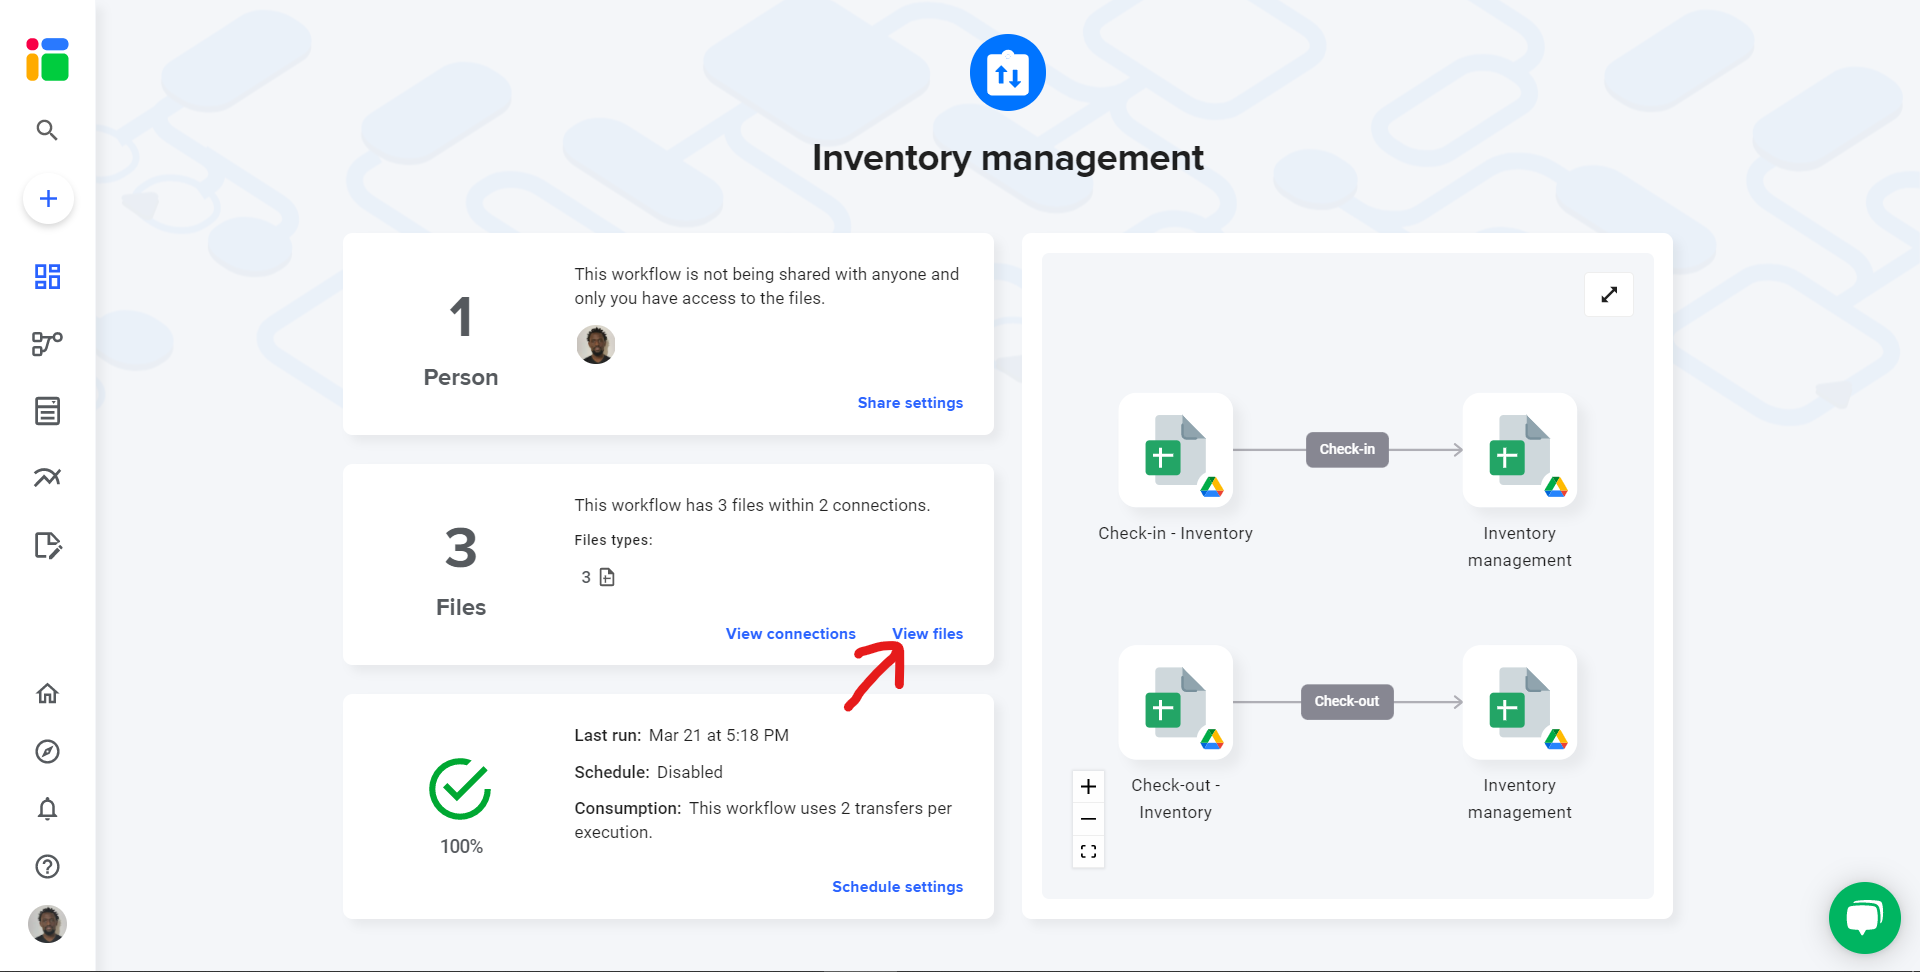
- To explore the files connected to the template, go to the Overview and click View files to reveal the list of spreadsheets.

Step 2: share files
If you need to share the input files or the workflow, this step has the instructions on how to do so.
To share any file that is connected to your workflow, read this article to learn how to seamlessly share files from your Google Drive.
You can also share this workflow to collaborate with another Sheetgo user. Learn how to share your workflow and collaborate with your colleagues in Sheetgo.
Step 3: enter your data
Each file in the template contains sample data, which you or your colleagues can delete. In these files, you will also find instructions to follow before entering
Open the Check-in - Inventory file.
Enter your current stock levels in the Check-in tab.
Assuming that the sample data in the Check-out file has been deleted, when someone checks an item out of the inventory, they should log it into the Check-out file.
Tip: if you want to restrict access to the check-in or check-out spreadsheets but need your colleagues to submit the status of items, use the Sheetgo Forms feature.
Step 4: update your connections
This template contains pre-built Sheetgo connections. These connections pull data from the Check-in and Check-out spreadsheets into the Inventory management (master sheet) spreadsheet.
This will update the inventory management master sheet and dashboard with the items that were just checked in.
Click the Run button to update your workflow.

Step 5: automate transfers
Automate your workflow now to always have the most recent data in your master sheet. Sheetgo will run automatic transfer even when your machine is off.