Sheetgo’s Purchase order template is a pre-built system for managing orders. It’s ideal for small businesses, stores, and manufacturers looking for a simple way to record suppliers, collect purchase requests from colleagues, and monitor deliveries.
How does the purchase order management template work?
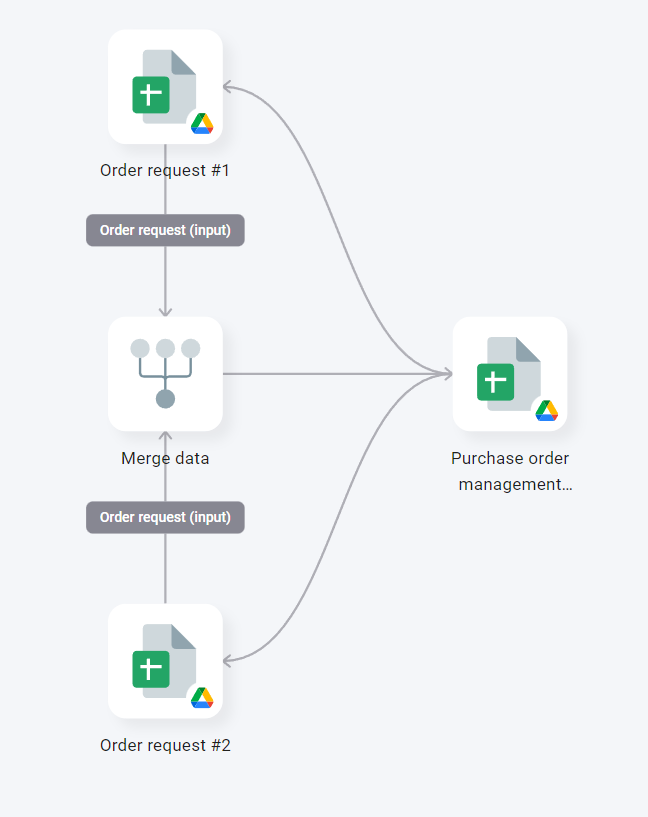
When you install the Sheetgo Purchase order template, three Google Sheets files with pre-built Sheetgo connections are saved to your Google Drive:
Initially, two Order request spreadsheets. Share these files with the team members who will submit purchase requests and make as many copies as you need for additional departments. Each team uses its copy of the spreadsheet to request materials and supplies.
One Purchase order management master sheet, for the administrator and person responsible for processing deliveries. Here, the manager receives order requests from across the company and logs when the orders arrive. In the automated dashboards, they get a visual overview of delivery times, complaints, orders placed and received, plus costs per supplier.

How to use the template?
Step 1: install and explore
Allow a few minutes as Sheetgo saves a copy of the files to your Google Drive and creates the connections. Sheetgo will open the template on the network view.
Step 2: enter your data
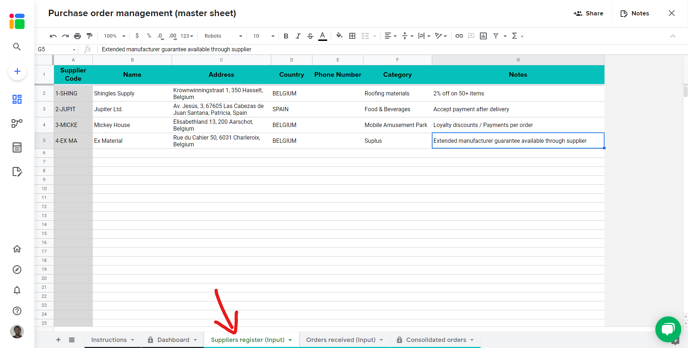
Column A will automatically generate the Supplier Code after you have entered your suppliers’ information in columns B to G.

Step 3: update your connections
After you have entered the suppliers’ information in the Supplier register (Input) tab, the next step is to send this data to your Order request spreadsheets. This will enable your colleagues to select a supplier from a dropdown menu in their own spreadsheets when they place an order.
Step 4: share files
You need to share the order request files.
To share any file that is connected to your workflow, read this article to learn how to seamlessly share files from your Google Drive.
You can also share this workflow to collaborate with another Sheetgo user. Learn how to share your workflow and collaborate with your colleagues in Sheetgo.
Back to Sheetgo and open the Order request #1 file. In the Order request (Input) tab, delete the sample data or instruct your colleague to do so after reading the Instructions tab.
Repeat this step for the other Order request spreadsheets.
When your colleagues want to order items, they should just enter the information into the Order request tab of their spreadsheet.
Note: Do not edit the gray columns (Order number and Total cost) as the template fills these out automatically.
Step 5: automate transfers
Automate your workflow now to always have the most recent data in your master sheet. Sheetgo will run automatic transfer even when your machine is off. Learn more here.
Step 6: register deliveries
When a delivery arrives at the company, log it on the Orders received tab of the Purchase order management (master sheet).
Enter the date, select the order number from the dropdown menu, and make a note of any complaints or problems with the delivery.
If deliveries are accepted or processed by another team, you can share this spreadsheet with them, refer to the first 3 bullet points in Step 3, and instruct them to fill out the Orders received (Input) tab.
How to add more Order Request files to the workflow?
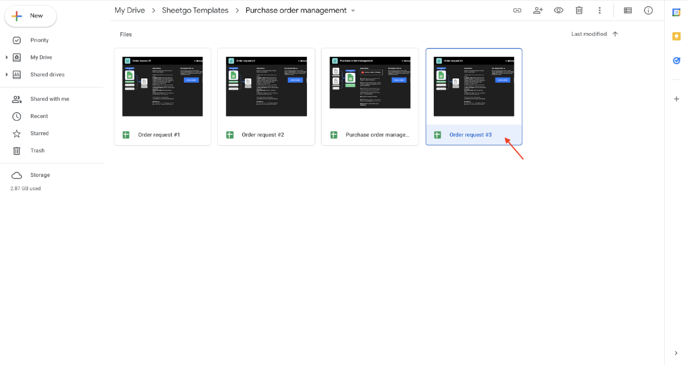
In Google Drive > Sheetgo Templates > Purchase order management you will find the 3 Business unit spreadsheets that are included in the template.
Duplicate one of the Order request files and rename it.
In the following example, I’ve called it Order request #3.

You will see that there are currently 3 connections:
The first connection in the list, Consolidated orders, combines data from the Order request spreadsheets and pulls that information into the master sheet.
The following two Supplier database connections send the list of suppliers to the Order request spreadsheets. We want to copy this connection for the new spreadsheet that we’ve just duplicated.
Make a copy of one of the existing Supplier database connections by clicking on the three dots menu (⋮) and selecting Duplicate.
Scroll down to Destination > Google Sheets.
Click on Edit.
Click on File > Change file.
Select the duplicated Google Sheets from your workflow folder.
Under Tab name, enter the name Supplier database.
Click Finish and save to create the connection.
In the Connections list, you will see that there are now three Supplier database connections.
If you click on Workflow, you can see there is now a connection going in one direction, from the master sheet to the new file (1). We want to send data back in the other direction (2), which means merging data from Order request #3.
Return to the Connections list.
Next to the connection, Consolidated orders click on the three-dots menu (⋮) and select Edit.
Under Source, you will see the Order request files that are already connected.
Click +Add another source file > +Select file and select the new spreadsheet.
Under File tab, make sure to have the correct tab name. Select the Order request (Input) tab.
Click Save changes to finish.
Data from Order request #3 is now being consolidated into the master sheet, along with information from the other two Order request files.