Are you looking for an efficient way to manage your tasks and projects? Look no further! Our Task Management Template is here to help you streamline your workflow and keep everything on track.
How to use the template
Log in to Sheetgo.
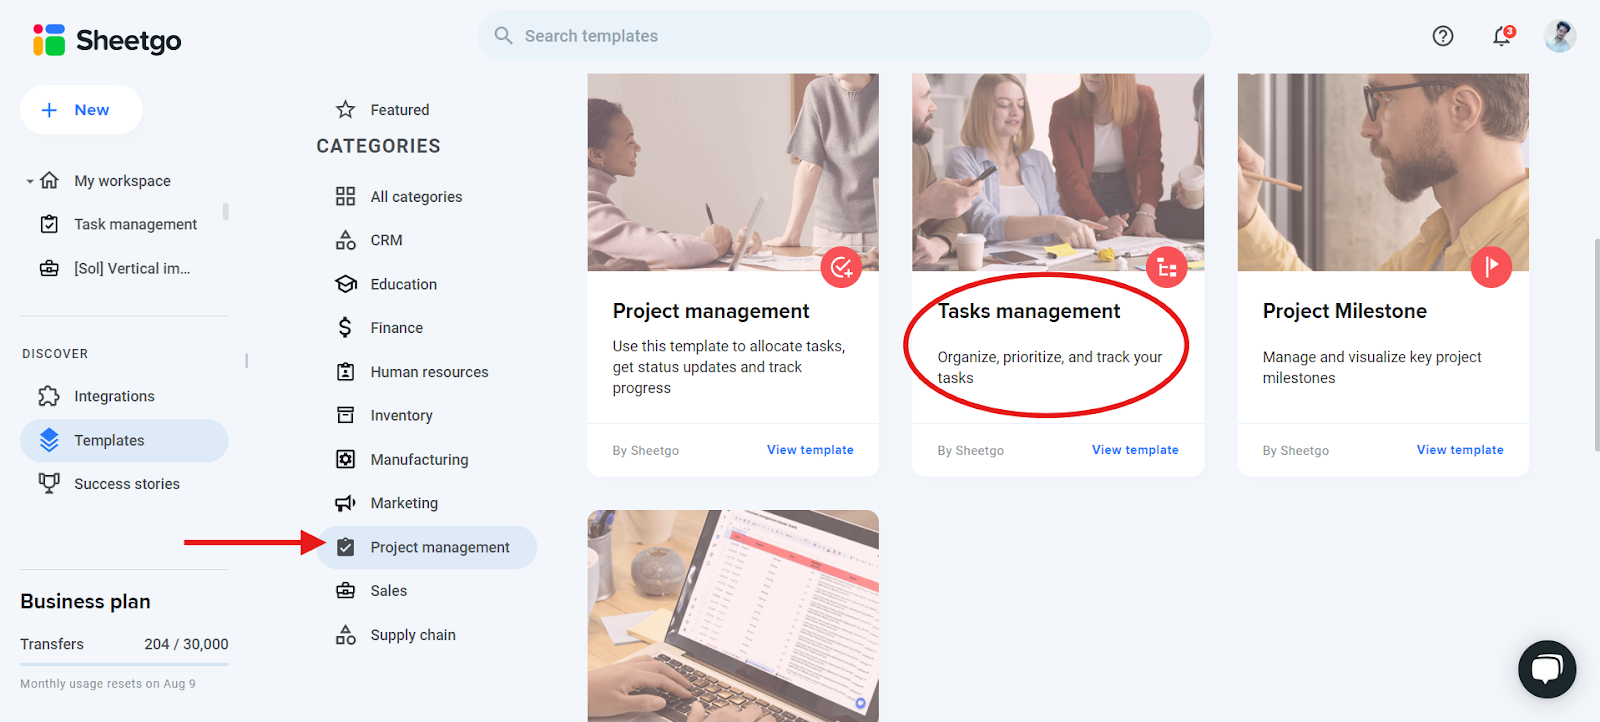
Go to the Templates section on the left side or use this link to directly go to the template.

Click on the Project Management category, then click on Task Management.

Click on Install Template.

—
Once you install the template the workflow should look something like this

Process of after template installed.
Step 1: Set Up Your Master Data
Start by cleaning all the dummy data except the header columns. Begin by filling out the Project details tabs of the Task management sheet. These tabs include:

Project ID
Project Name
Project Description
Assigned To
Step ID
Step Name
Dependency Step
Dependency Relationship
Number of Days
Number of Hours
Next, clean all the dummy data except the header columns and fill out the Parameters tab of the Task Management sheet (if you cannot see it, it may be hidden; unhide the Parameters tab). Update the data in the following columns based on your requirements:

Now, clear all dummy data from the Task tab, Due Date Revision tab, and Update Status tab. Ensure the header columns remain unchanged.
Step 2: New Task Form
Use the Task Form to add new tasks to your projects. This form ensures all necessary details are captured, including task description, assigned team member, due date, and priority level. When a new task is created, a notification email is sent to both the task creator and the assignee.
—
Step 3: Due Date Revision Form
If you need to revise the due date of any task, you can use this form. When the due date is crossed, a notification email is sent to the assignee.
Step 4: Update Status Form
As work progresses, update the status of each task using the Status Update Form. This keeps everyone on the same page and ensures that the dashboard reflects the most current information. When a task is 100% complete, a notification email is sent to the person who created the task, informing them that the task has been completed.
—
Step 5: Automate the workflow
To ensure that data flows back and forth without you having to open Sheetgo, schedule automatic updates. Learn how to set up automatic transfer here.
—
Use the Dashboard: Make it a habit to check the dashboard daily to stay updated on task statuses.
—