We are excited to introduce the Product Kit template, designed to simplify and automate your manufacturing processes
How to use the template
Log in to Sheetgo.
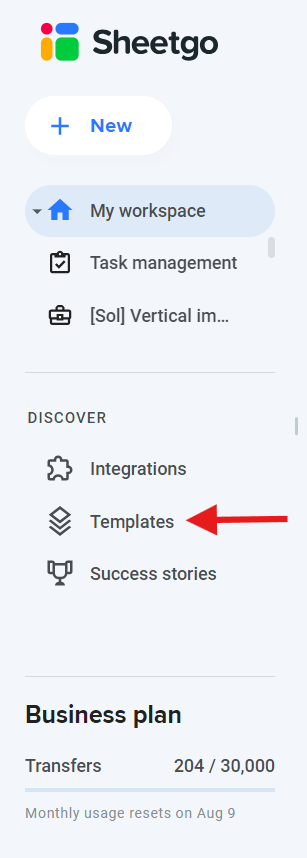
Go to the Templates section on the left side or use this link to directly go to the template.

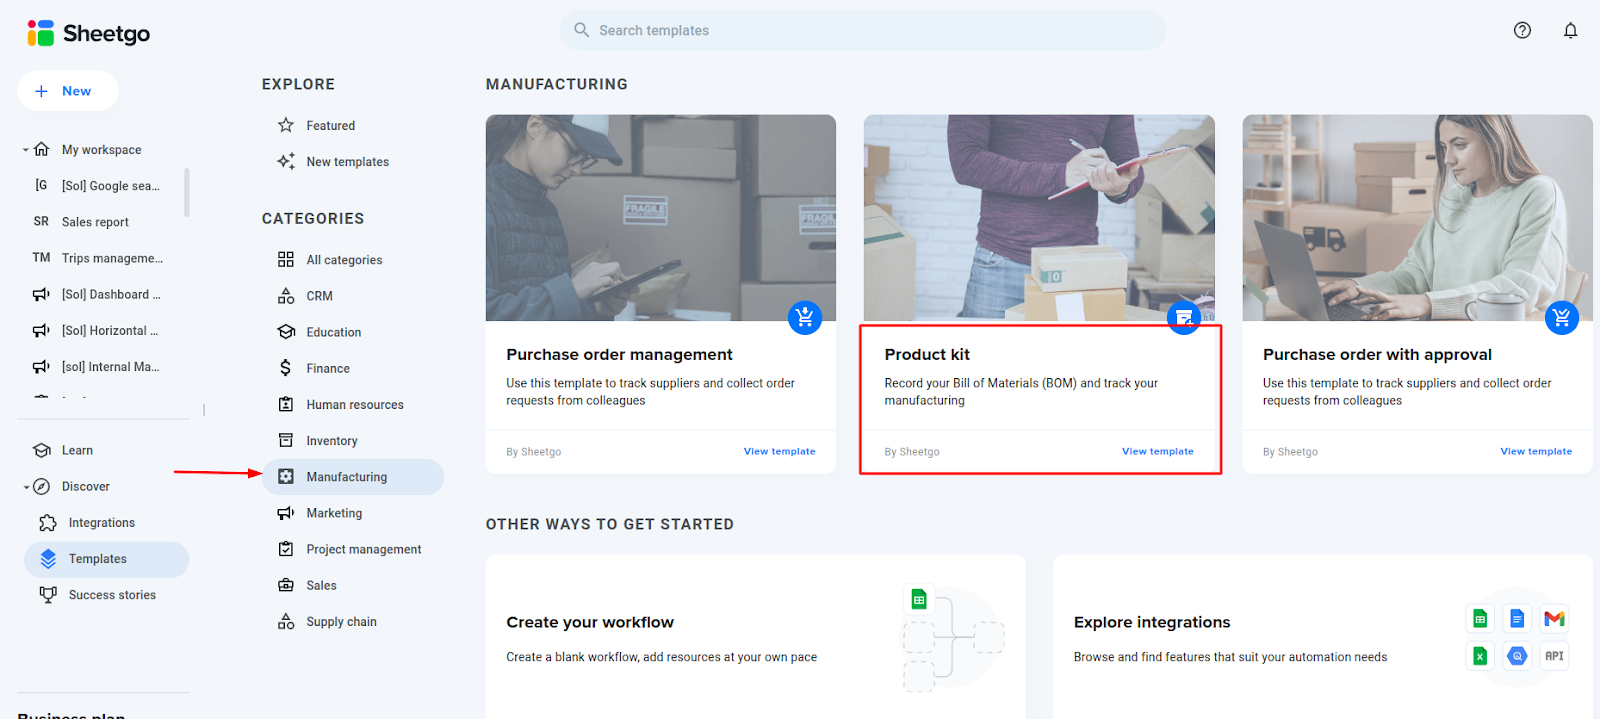
Click on the Manufacturing category, then click on Product kit.
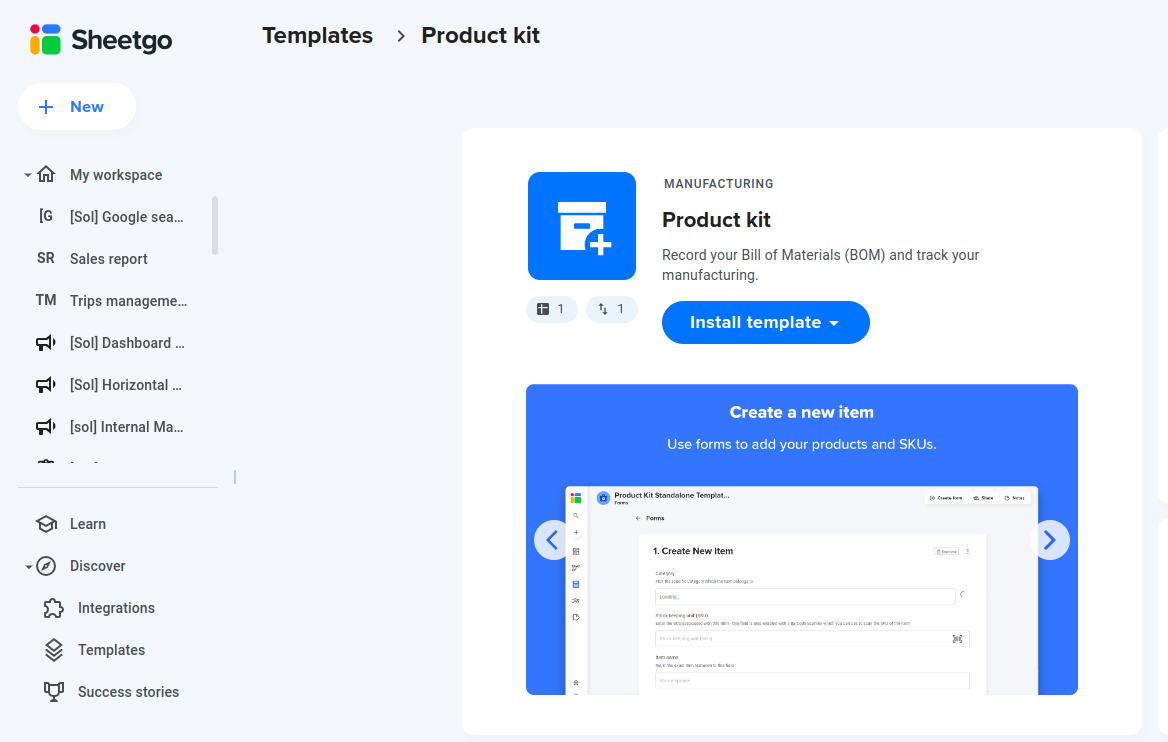
Click on Install Template.

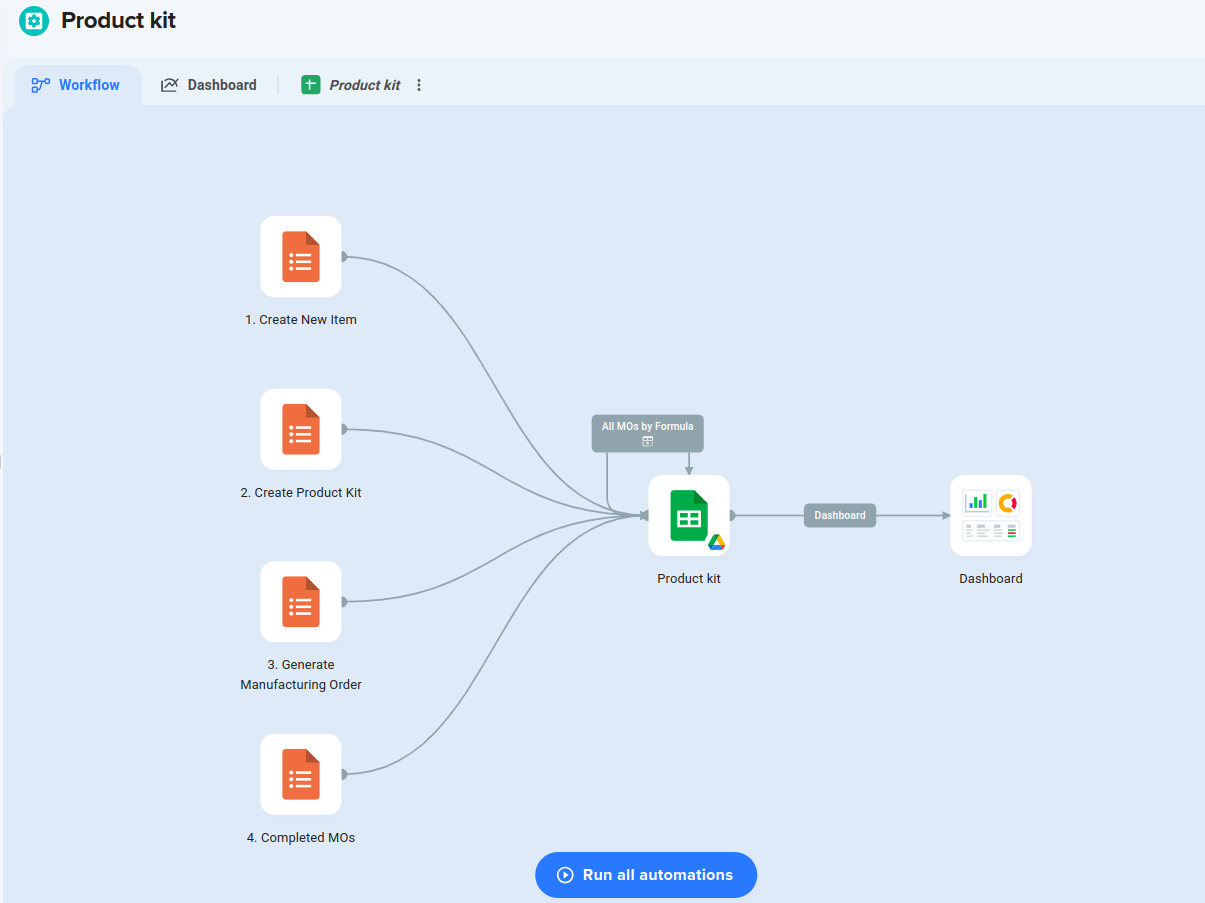
Once you install the template the workflow should look something like this

Process of after template installed.
Data Cleaning Instructions
Items Tab:
- Remove all dummy data except for the header columns.
Completed MOs Tab:
Product Kit Tab:
Manufacturing Order Tab:
Parameters Tab:
Remove the existing data for Category, Unit of Measure, and Additional Cost Category.
Fill in the data according to your specific Category, Unit of Measure, and Additional Cost Category.
MO Data Tab:
Unhide the tab if it is hidden.
Clear all dummy data, ensuring the header columns are left unchanged.
Note: After completing all cleaning and updates, synchronize all the forms.
Understanding the Forms
Let’s now understand how each form works:
1. Create New Item
The first step in the Product Kit workflow is creating a new item. This form helps you input all necessary details about the item to be added to your inventory.
Category: Select the category the item belongs to.
Stock Keeping Unit (SKU): Enter or scan the SKU for the item.
Item Name: Provide the exact name of the item.
Unit of Measure: Choose the unit of measurement for the item.
Cost: Enter the cost of the item.
This form ensures that all item details are standardized and accurately recorded in the system.
2. Create Product Kit
Once you have your items, the next step is to create a product kit. This form allows you to bundle items into a kit for production purposes.
Product Group: Select the product group for the finished good.
Produced Quantity: Specify the quantity of the finished product to be produced.
Item: Choose the items to be included in the kit from the master item list.
Consumed Quantity: Enter the quantity of each item that will be used in the production process.
Type: Indicate whether the item is raw material or scrap.
This form helps in organizing items into kits, making the production process more efficient.
3. Generate Manufacturing Order
With the product kit ready, the next step is to generate a manufacturing order. This form outlines the production details and requirements.
Product Kit ID: Select the product kit to be used for manufacturing.
Finished Good: Specify the finished good to be produced.
Produced Quantity: Enter the quantity to be produced.
This form facilitates the transition from planning to actual production, ensuring all details are clear and actionable.
4. Completed MOs
The final step in the workflow is managing completed manufacturing orders. This form captures the outcomes of the production process.
Select MO ID: Choose the manufacturing order ID.
MO Details: Provide details of the manufacturing order.
Enter Produced Quantity: Record the quantity produced.
Add Test Report: Upload any test reports associated with the production.
Add Completion Report: Upload the completion report.
Additional Cost Category: Select any additional cost categories.
Additional Cost: Enter any additional costs incurred.
This form ensures that all production data is recorded, and any discrepancies or additional costs are documented for future reference.
Manufacturing Report Tab Overview
The Manufacturing Report tab provides a comprehensive overview of the manufacturing process for each order. It includes detailed information on the product kit, finished goods, quantities, costs, and the status of the manufacturing order. Here’s a breakdown of the key sections within the report:
Key Sections:
Manufacturing Order Details:
- Select Manufacturing Order ID: Dropdown to select the specific manufacturing order.
- Product Kit ID: Identifier for the product kit being used.
- Finished Good: Description of the finished product.
- Manufactured Quantity: Total number of finished goods produced.
- Total RM Cost: Total cost of raw materials used.
- Total Produced Quantity: Number of items produced.
- Pending Quantity: Number of items still pending production.
- Status: Current status of the manufacturing order.
- Total Additional Cost: Sum of all additional costs incurred.
Item Details:
Item Name: Names of the items used in the production process.
Quantity per Kit: Quantity of each item required per product kit.
Consumed Quantity: Total quantity of each item consumed during the manufacturing process.
Type: Indicates whether the item is a raw material or a by-product.
Raw Material Cost: Cost associated with each raw material item.
Additional Cost Details:
Example:
In the provided example for Manufacturing Order ID MO-4:
The product kit used is PRDK-6, and the finished good is a ¼″ KEY x 1.5′ Length.
A total of 10 units were manufactured with 6 units still pending.
The raw material costs total 13501.4, with additional costs amounting to 217.00.
The status is marked as Started Producing.
Item details include materials like MAIN SIDE PANEL and TAIL PULLEY GUARD with their respective quantities and costs.
Additional costs are categorized into A and B with costs of 158.00 and 59.00 respectively.
This tab provides a clear and organized way to monitor and manage all aspects of the manufacturing process, ensuring that every detail is accounted for and easily accessible.