We are excited to introduce our Time Management template, designed to streamline and automate the process of tracking and managing the time employees spend on various tasks and projects.
Here’s how to use the template effectively
How to use the template
Log in to Sheetgo.
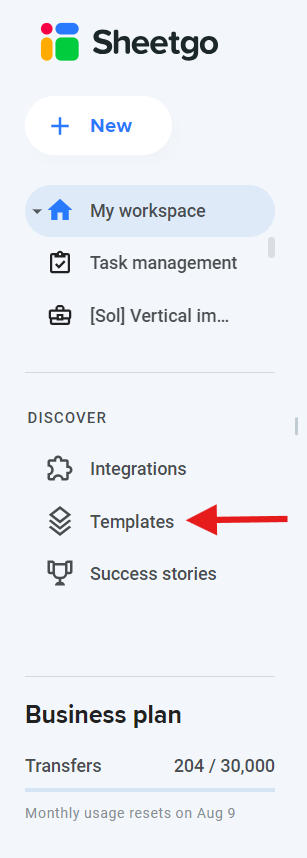
Go to the Templates section on the left side or use this link to directly go to the template.

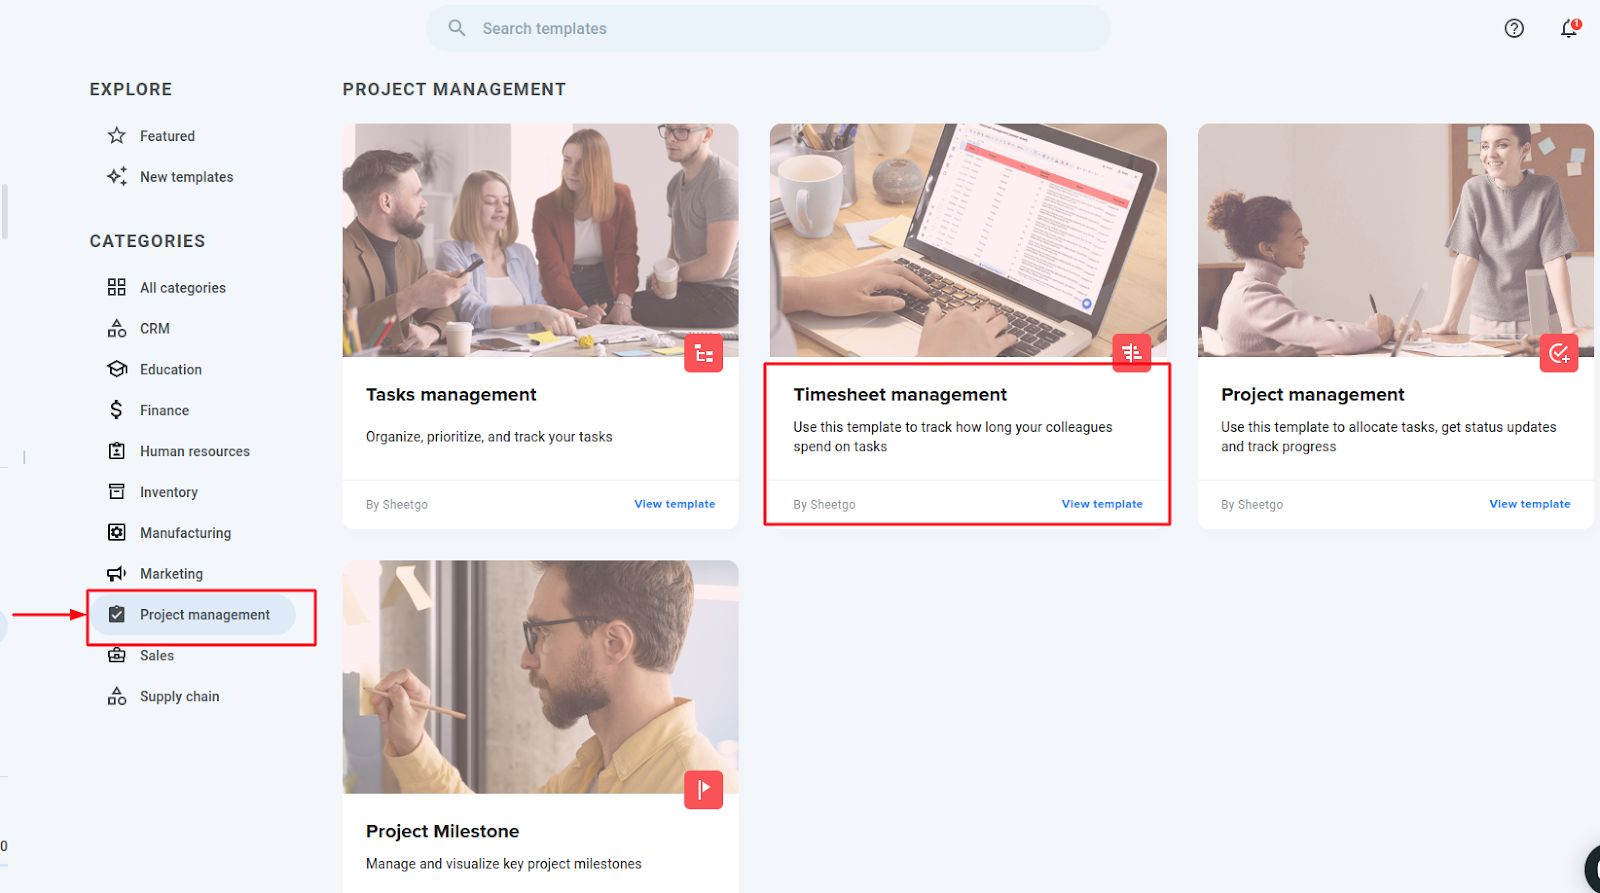
Click on the Project Management category, then click on Timesheet management.

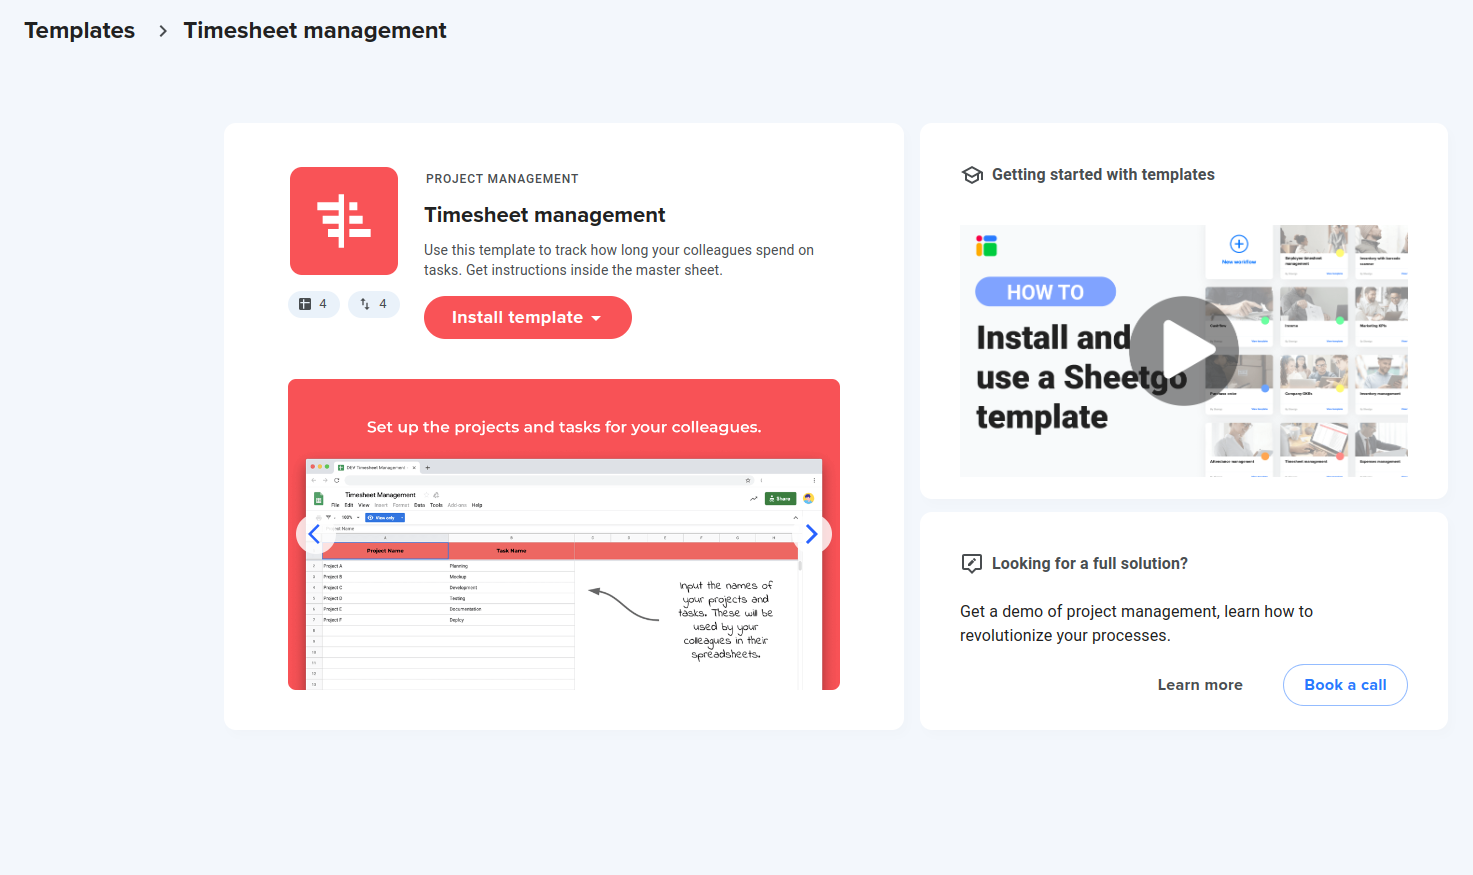
Click on Install Template.

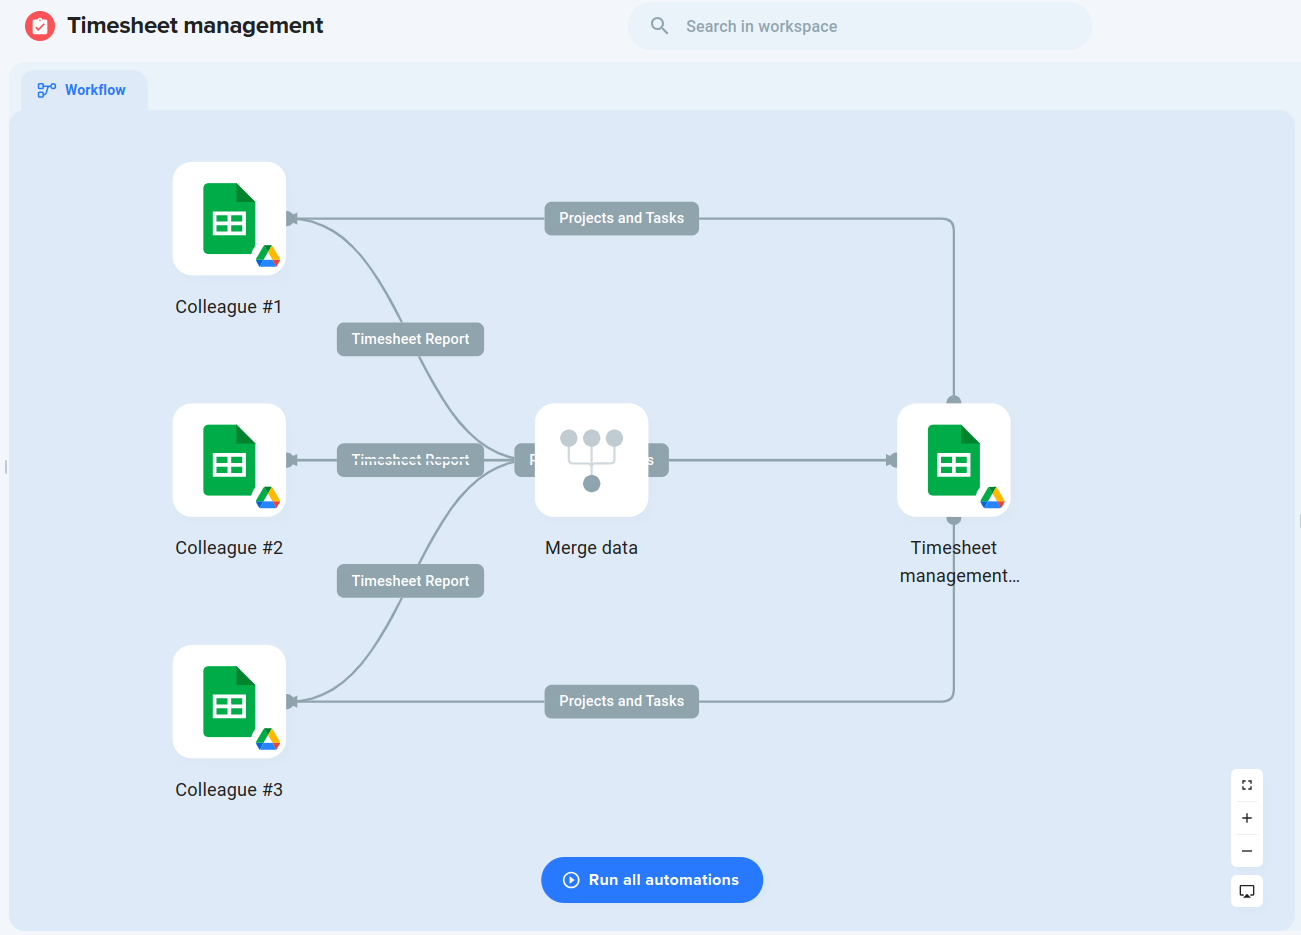
Once you install the template the workflow should look something like this

Process of after template installed.
Data Cleaning Instructions
For Colleagues #1, #2, and #3:
Timesheet Report Tab:
- Remove all dummy data, leaving only the header columns.
Projects and Tasks Tab:
Understanding Timesheet Management (Master Sheet)
The master sheet is managed by the project manager. Here’s how to use it:
Fill Out the Projects and Tasks Tab:
- Complete this section with the relevant project and task information.
Share Individual Timesheet Files:
Run the Workflow for the First Time:
Track Personal Progress:
Set Automatic Updates:
Understanding the Colleague Sheet
Rename the Spreadsheet:
- Start by renaming your spreadsheet with your name.
Timesheet Report Tab:
This is where you can register all the work done per project and task.
Project and task names are automatically generated from the manager’s (master) spreadsheet. If you need different project or task names, contact your manager.
The manager will update the data in the master timesheet file, so ensure your file is always up to date.
My Dashboard Tab:
—